These are my 10 favorite Google Photos features
Edgar Cervantes / Android Authority
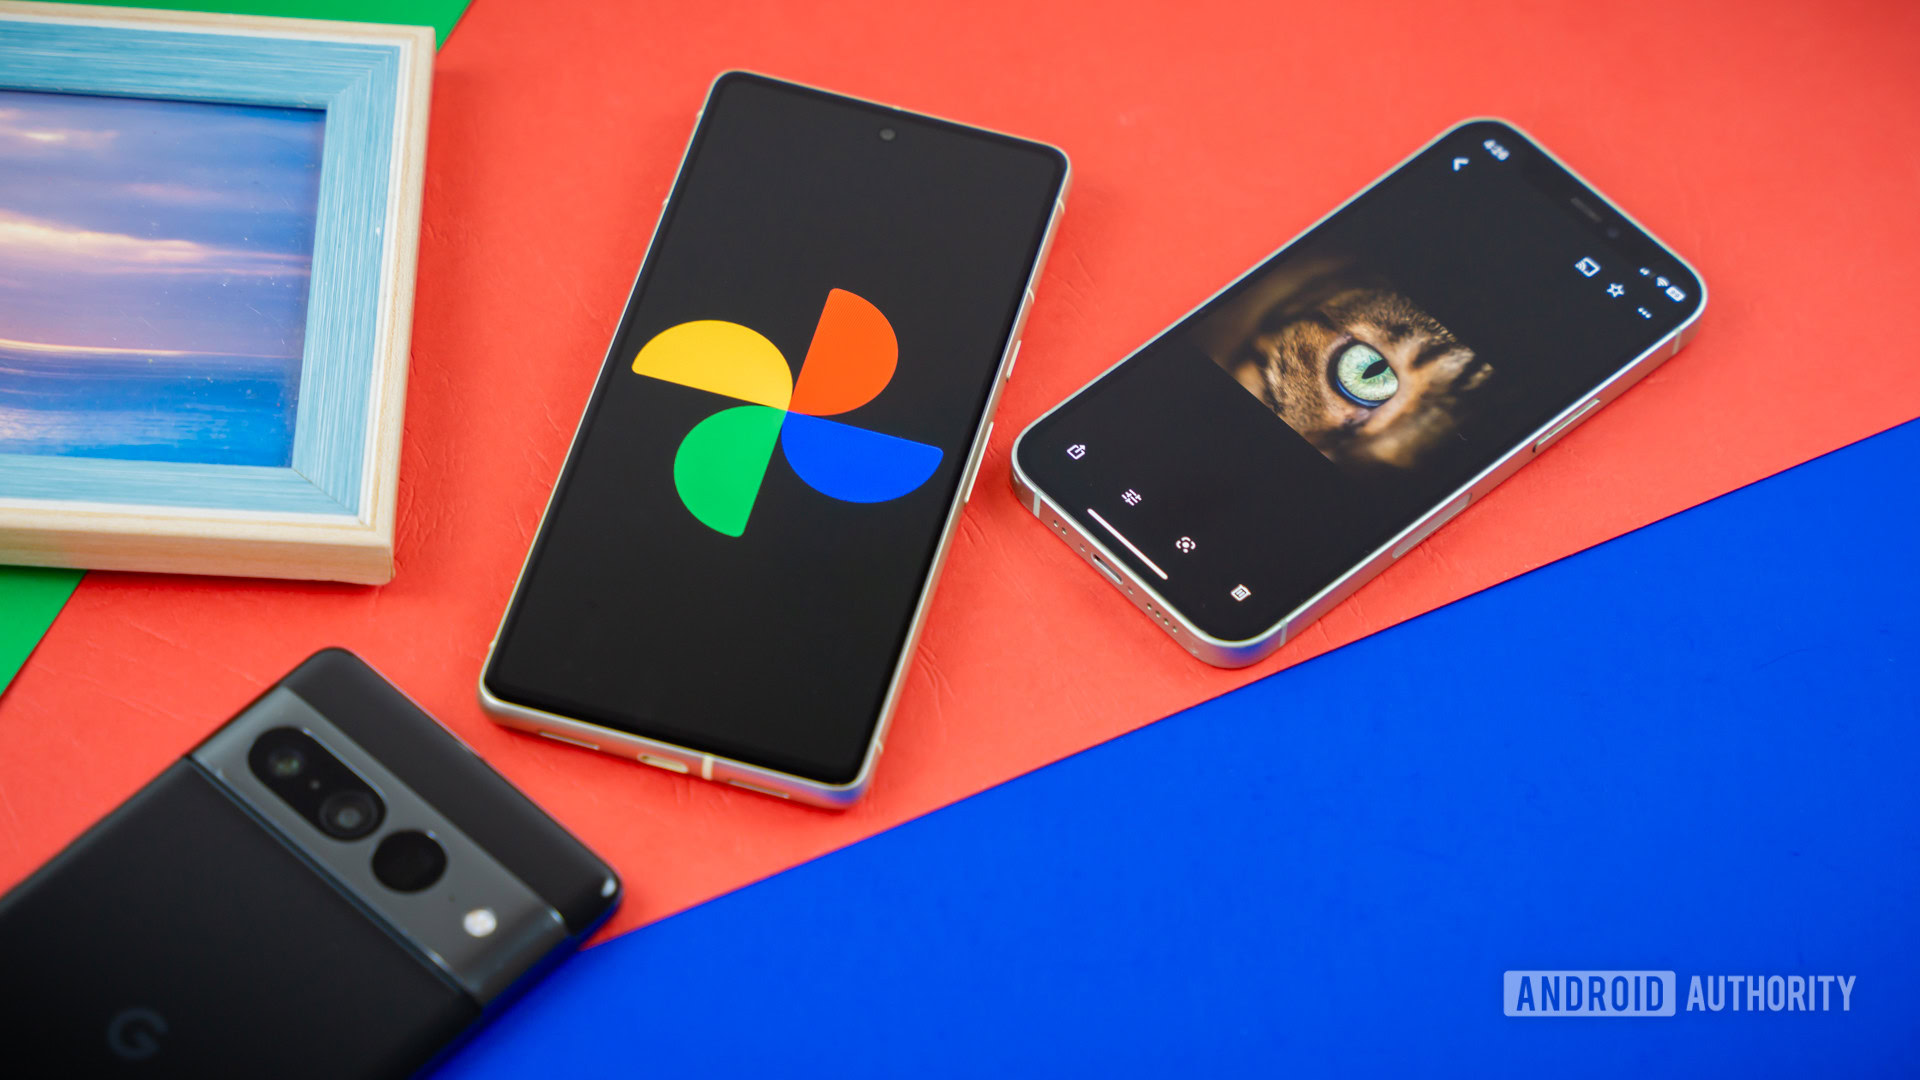
Most people are blissfully unaware of how much fun playing with the Google Photos features can be. I was one of those people until recently. For a long time, it was just my default photo library app, and I assumed it was just another way that Google was keen to manage every aspect of my life. I even found the Memories notifications a little irritating for a while. My default attitude was that I get enough notifications already without this photo storage app bugging me about something or other.
Then I clicked on one of them, and I was impressed. Many of us take photos to document nice moments and then forget about them, with the vague notion that one day we’ll sit down and reminisce. But Memories drops little reminders every now and then of good times gone by, which can lift your spirits a little. I wondered what other cool things the app could do, and it turns out that there’s no end to the edits, customizations, and creations that you can enjoy.
Some of these Google Photos features are too good to stay under the radar, so I’ll share my top 10 with you here.
My favorite Google Photos features
1. Pinch to zoom your library
Pinching a photo to zoom in or out is now second nature to us, but did you know that you can also do it in your Google Photos library? Instead of actually zooming, this gesture can be used to enlarge the image previews on the screen. In the screenshots of my library above, I put my thumb and forefinger on the screen, then moved them apart to zoom out. The image previews got smaller and smaller still, becoming the grid view on the right.
The same change can be achieved by tapping the three vertical dots in the top right of the library screen and selecting one of the options under Layout, which are Comfortable, Day, and Month. But the pinching method is quicker and more intuitive.
2. Double-tap to start a search quickly
This is another Google Photos feature that saves me perhaps one second each time I use it, but I still think it’s worth knowing. Tapping the search button in the bottom right of the app takes you to the search page, but it doesn’t actually put you in the search field ready to enter a query. Instead of moving your finger up to tap the search field, you can just hit the search button again immediately to achieve the same aim.
3. Drag to select multiple images
You sometimes need to select a bunch of images at once. You may have already worked out that one way to do this is to tap and hold the first image preview, which both selects that image and also adds a small white circle to the top left of all other image previews. You can then tap each image you want to select. This is fine if you need to cherry-pick a few, but there’s a quicker way if you actually want to select all of the images in a certain block.
Tap and hold the first image, but instead of letting go when the white circles appear, keep holding your finger on the screen and drag it across the other image previews to select them all.
4. Sort by location
Google records the location of the photos you take, which you can see in the image details if you ever want to check. A nice upside to this is the way that Google Photos lets you search your photos by the location they were taken. No longer do you need to remember the dates you were somewhere to find the trip photos in your chronological library.
To check out this cool Google Photos feature, hit the Collections tab at the bottom of the app, then scroll down to Places. You’ll be presented with a list of places you’ve been. Choose one, and you’ll see all of the photos taken at that location.
Alternatively, you can tap the first option in that list, which is Your map. You’ll see a version of Google Maps, but with a heat map overlay that indicates at which locations photos in your library were shot.
If you have a photo in your library that doesn’t have a location or has it incorrectly listed, you can edit it manually. Select the image preview of the photo by tapping and holding it, the swipe up and choose Edit location.
5. Quickly find documents
We’ve all been there — you unexpectedly need to know some details from a document. You don’t have it on you, but you vaguely remember taking a photo of it a long time ago. Finding it in your library used to be like finding a needle in a haystack, but Google Photos can now recognize a document when you snap it, and you can easily look up these types of images.
Head to the Collections tab again. You’ll see a folder named Documents. Tap it, and you’ll see subfolders for identity documents, receipts, event information, and more.
6. Share photos easily
Google Photos has much better features for sharing photos than sending huge tranches of them over WhatsApp. You can simply put them in an album and then share access to that album with whoever you want.
There’s more than one way to do this. in the example above, you can select the photos you want to share (perhaps using the drag feature mentioned earlier) and then press Add to on the pull-up menu. It has a plus sign above it. You’ll get a new Create menu, and you can select Share album. From there, you simply complete the album details, then hit Share and send the link to the recipient.
If you want to go a step further and share your whole library with your partner, you can do that, too. Back on the library home page, tap the Share icon next to your profile icon in the top right of the screen. The icon depicts a figure with another figure behind it. Next, tap on Share with partner. You can limit the scope of the sharing on the next screen, like choosing a start date before which your partner can’t see the photos. Once you’re done, press Select partner and enter some contact details so that a link can be sent to them.
7. Create videos, animations, and more
There are a ton of fun ways to play with your photos and videos in Google Photos. It all starts with the + symbol at the top of the library home page. Tap that, and you have several creative options at your disposal. They include:
- Collage: Combine several images together into a single photo in the old collage style.
- Highlight video: Choose a person, pet, trip, date, etc and Google Photos will combine a selection of the related photos and videos into one highlight reel.
- Cinematic photo: Transforms a normal image into a cinematic one with a moving camera effect.
- Animation: Use a combination of photos to make a flick-book-style animation.
These Google Photos features are well worth trying for yourself, especially the highlight video. Making one featuring your partner takes just a couple of minutes, and sending it to them might make their day!
8. Use Lens
You can now use Lens within Google Photos, making it easy to investigate things in your old pictures. Just choose Lens below the image, and check out the results below.
I managed to work out that this delicious breakfast I had some time ago was Turkish Eggs. There are no doubt much better uses for the feature.
9. Put a name to a face
Back in the day, you had to spend hours manually tagging everyone in each photo. Google Photos now does it for you, as long as you tell it who’s who once.
You can do this on any individual photo by swiping up and then tapping add name next to any face that the app has recognized. You can also hit Edit faces to remove a tag or correct a face that Photos has incorrectly identified, although it’s very good at this task in general.
There’s another way to sort out the faces of people more generally in the app. Go to Collections > People and Pets to see a lineup of many faces from your photos. Tapping on one will take you to the same screen where you can add a name. If two faces are the same person, giving them the same name will merge them.
10. Hide stuff from Memories
There may be times when you don’t want to delete a photo, but you also don’t want it to pop up in Memories. Perhaps it could remind you of a bad time or show an ex that your partner wouldn’t appreciate. Google Photos has a feature that lets you hide certain photos from appearing in Memories.
From the app home screen, tap your profile image in the top right, then select Photos settings > Preferences > Memories. You can see the options to Hide people and pets or to Hide dates.
Selecting the former gives you the chance to select faces for two categories. One is Blocked, which stops the person or pet from appearing in any Memories at all. The other is a new option of Show less, which means you won’t get Memories generated about that person, but they might still appear in group photos within Memories.
While these are my favorite features, Google Photos has a bunch more that might fit your style better. And that’s all before Android 15 arrives with some new tweaks to the Photos app.
Source: www.androidauthority.com

