Swiftly Capture Mac Screens with Efficient Print Screen Alternatives
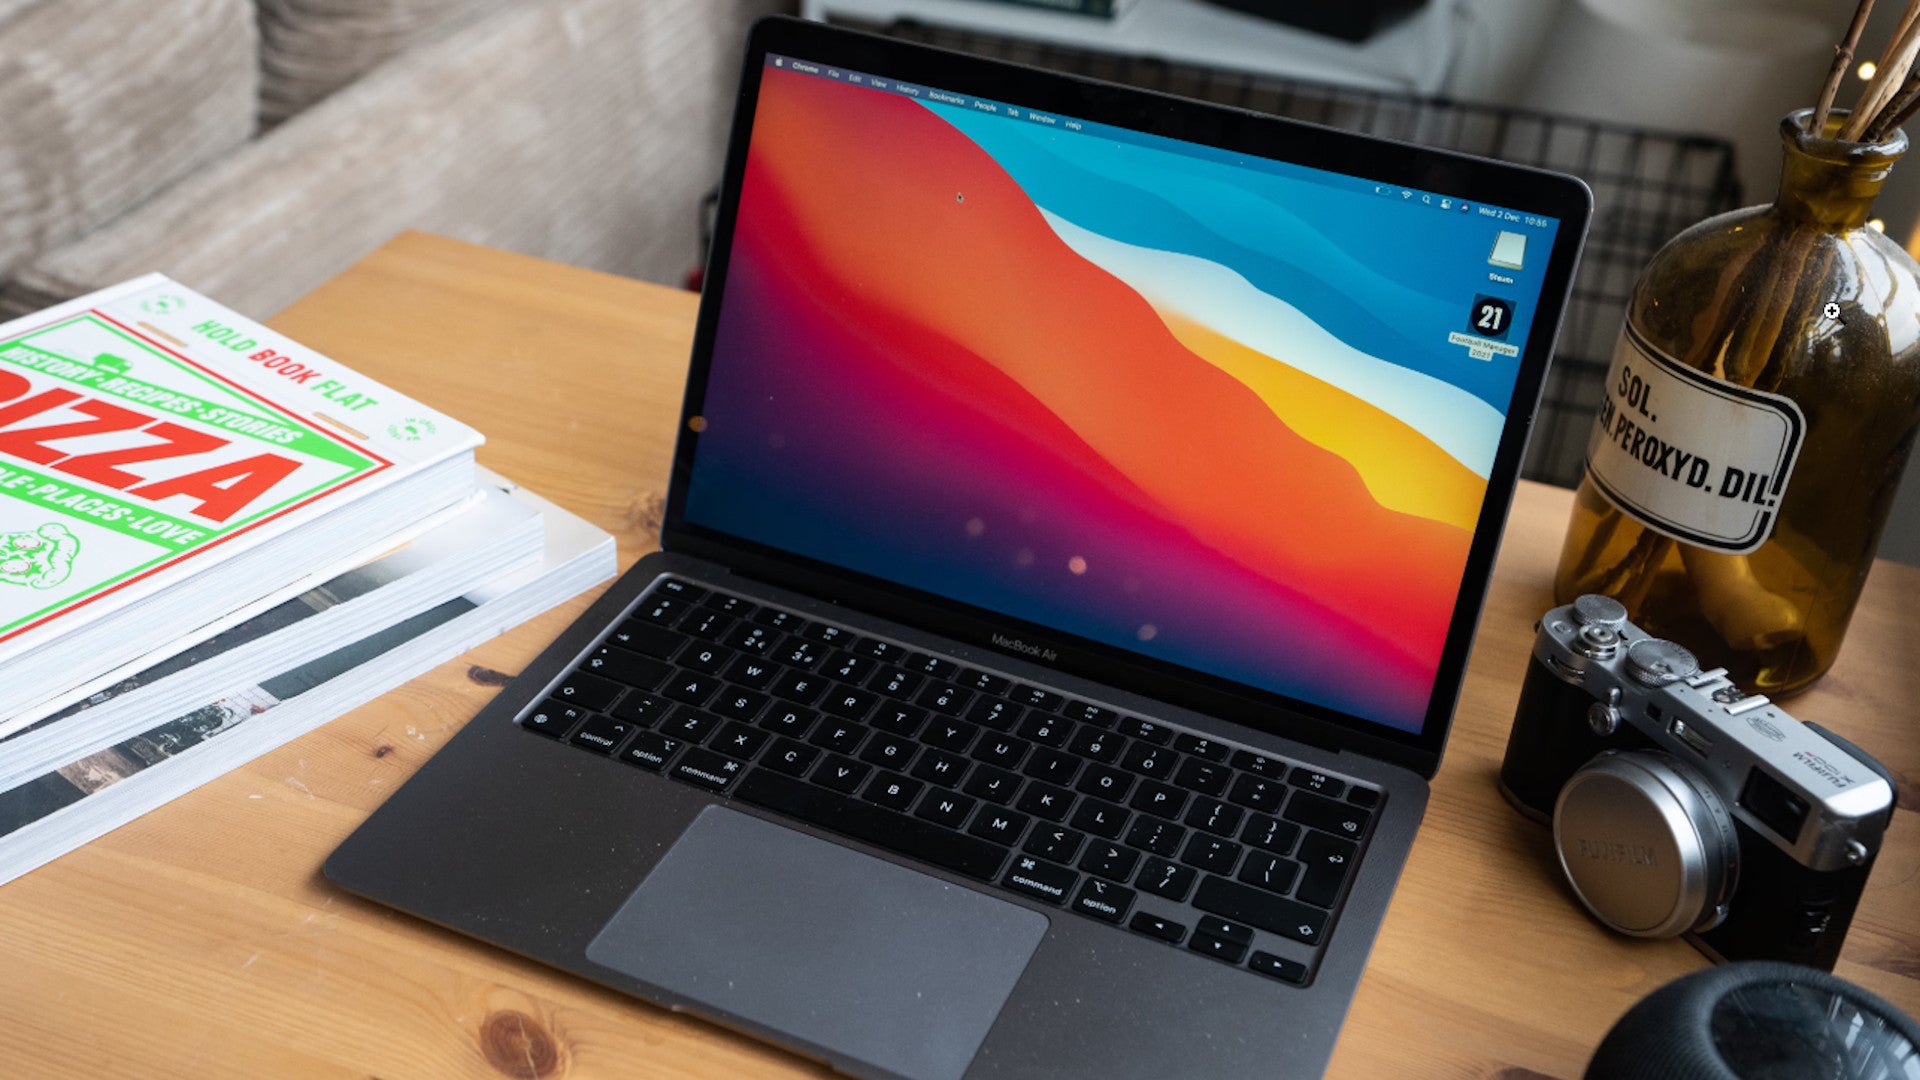
How to Take a Screenshot on a Mac in 2 Easy Steps
Ever wondered how to take a screenshot on your Mac? Look no further! We’ve got you covered with a simple, step-by-step guide to help you capture your screen in no time.
Taking a screenshot on your Mac is easier than you think, thanks to the built-in shortcuts that allow you to capture the whole screen, a specific portion of the screen, or a window. With just a few clicks, you can save and share your screenshot with ease.
So, what’s the best way to capture your screen? Read on to learn more.
What You’ll Need:
- A Mac or MacBook
- A keyboard shortcut
The Short Version:
- Press and hold Shift, Command, and 3 at the same time
- Wait for the image to save to your desktop
That’s it! Your screenshot will automatically save to your desktop. But did you know you can customize the default location or even edit the image as it saves? We’ll dive into that later.
Taking a Screenshot:
Here’s a step-by-step guide to taking a screenshot on your Mac:
Step 1: Press and Hold Shift, Command, and 3
Press and hold Shift, Command, and 3 at the same time to capture the entire screen. This will bring up a thumbnail of the screenshot in the bottom-right corner of your screen.
Step 2: Wait for the Screenshot to Save to Your Desktop
Wait for the screenshot to save to your desktop, or click the thumbnail to edit the image first.
Troubleshooting:
Have questions about taking a screenshot on your Mac? We’ve got answers!
- How to Take a Screenshot of a Specific Portion of the Screen:
If you don’t want to capture the entire screen, press and hold Shift, Command, and 4 at the same time. This will bring up a crosshair. Click and drag to select the portion of the screen you want to capture and let go to save the screenshot. - How to Take a Screenshot of a Window or Menu:
To capture a specific window or menu, press Shift, Command, 4, and the space bar at the same time. This will bring up a camera icon. Click on any window or menu to capture it and save it to your desktop. Note that the tool will automatically save the window’s shadow to your image, but you can press and hold the Option button as you choose your window to prevent this.
That’s it! With these simple steps, you’ll be taking screenshots like a pro in no time. Happy screenshotting!

