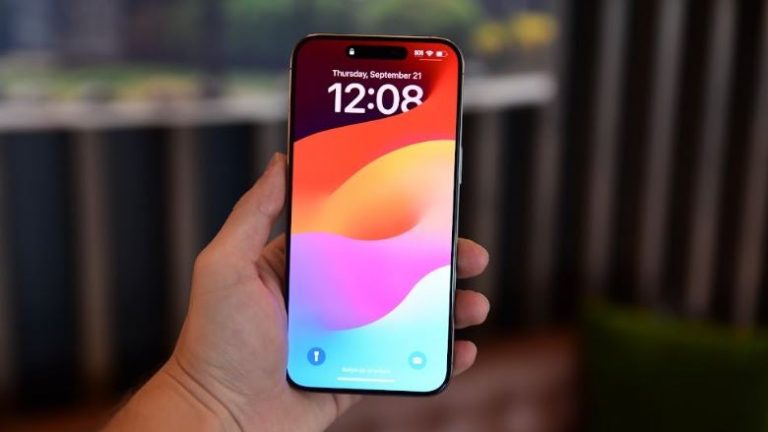
How to get water out of a phone, and hopefully save it from oblivion
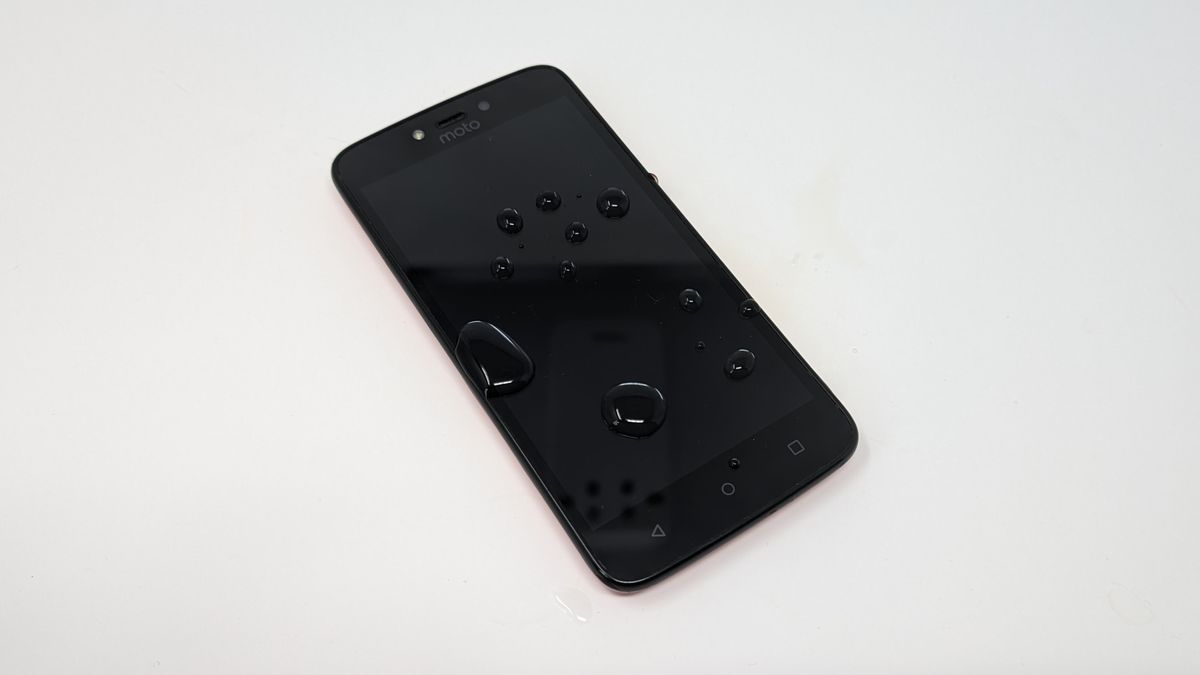
Accidentally dropping your phone in water can feel like a heart-stopping moment, but don’t panic! Whether it took a dive into the pool, a spill, or a drop in the sink, there’s hope for reviving your waterlogged device – so here’s how to get water out of a phone that’s taken a dunk.
The key is to act swiftly and smartly to prevent any further damage. Follow these steps to give your phone the best chance at a full recovery – we can’t promise it’ll work, but with a bit of luck, you won’t have to start browsing our best phones guide for a replacement.
Drying out your phone should be a straightforward process if you follow the steps below. A word of warning, however: Do not try to check if your phone works by plugging it in before you’ve completed these steps. Introducing electricity to a potentially wet device can cause short circuits and be hazardous.
Tools and requirements
- SIM removal tool if needed
- A dry lint-free cloth
- A dessicant – preferably silica gel packs rather than rice
Steps for how to get water out of a phone
- Do not turn it on. If it’s on, turn it off
- Open any covers or ports
- Dry wettest parts with a lint-free cloth
- Leave it covered in dessicant for 24-48 hours
Step by step guide
1. Power off immediately
(Image: © Future)
As soon as you retrieve your phone from the water, turn it off if it’s currently on. This is crucial to prevent short circuits that can cause irreparable damage. Resist the urge to check if it’s still working; powering it on can cause more harm than good.
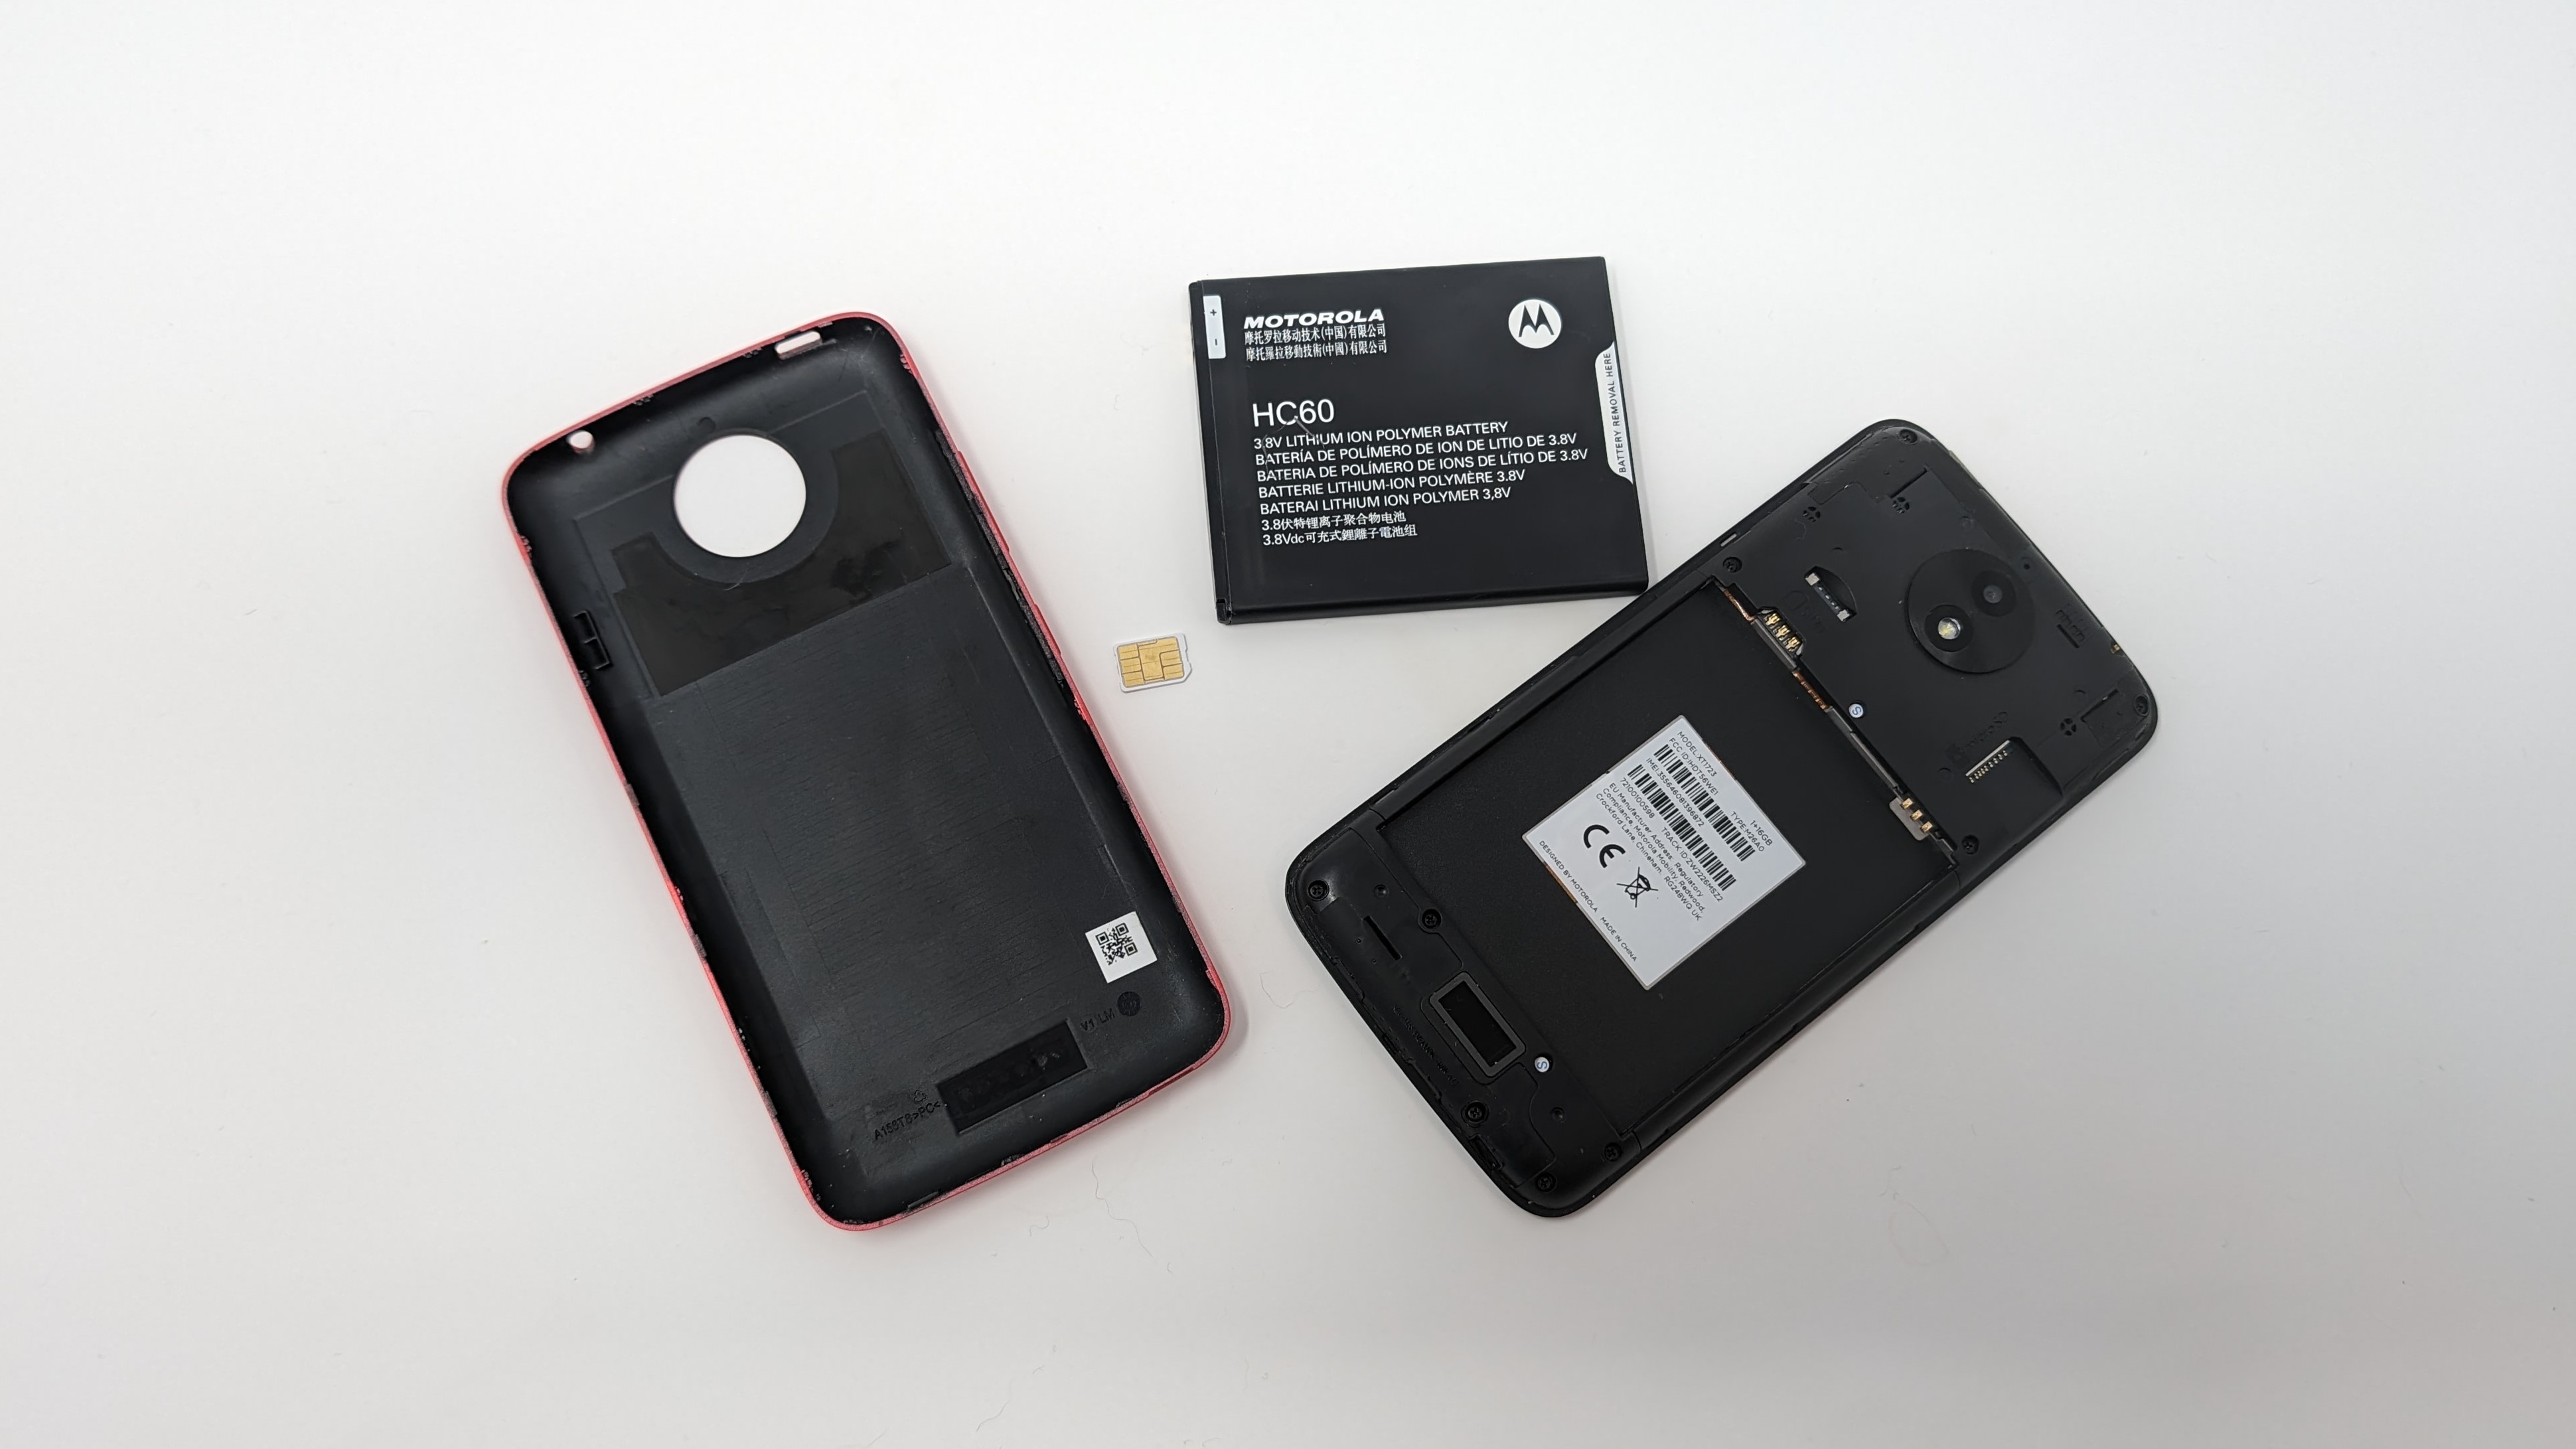
2. Remove accessories and SIM card
(Image: © Future)
Gently remove any cases, covers, SIM cards, SD cards, and external accessories attached to your phone. This step helps expose as many parts as possible to the air, speeding up the drying process.
Avoid using hairdryers, ovens, microwaves, or direct sunlight to dry your phone. Excessive heat can warp your device’s components and further damage the internal parts. The goal is to dry your phone gradually without introducing additional risks.
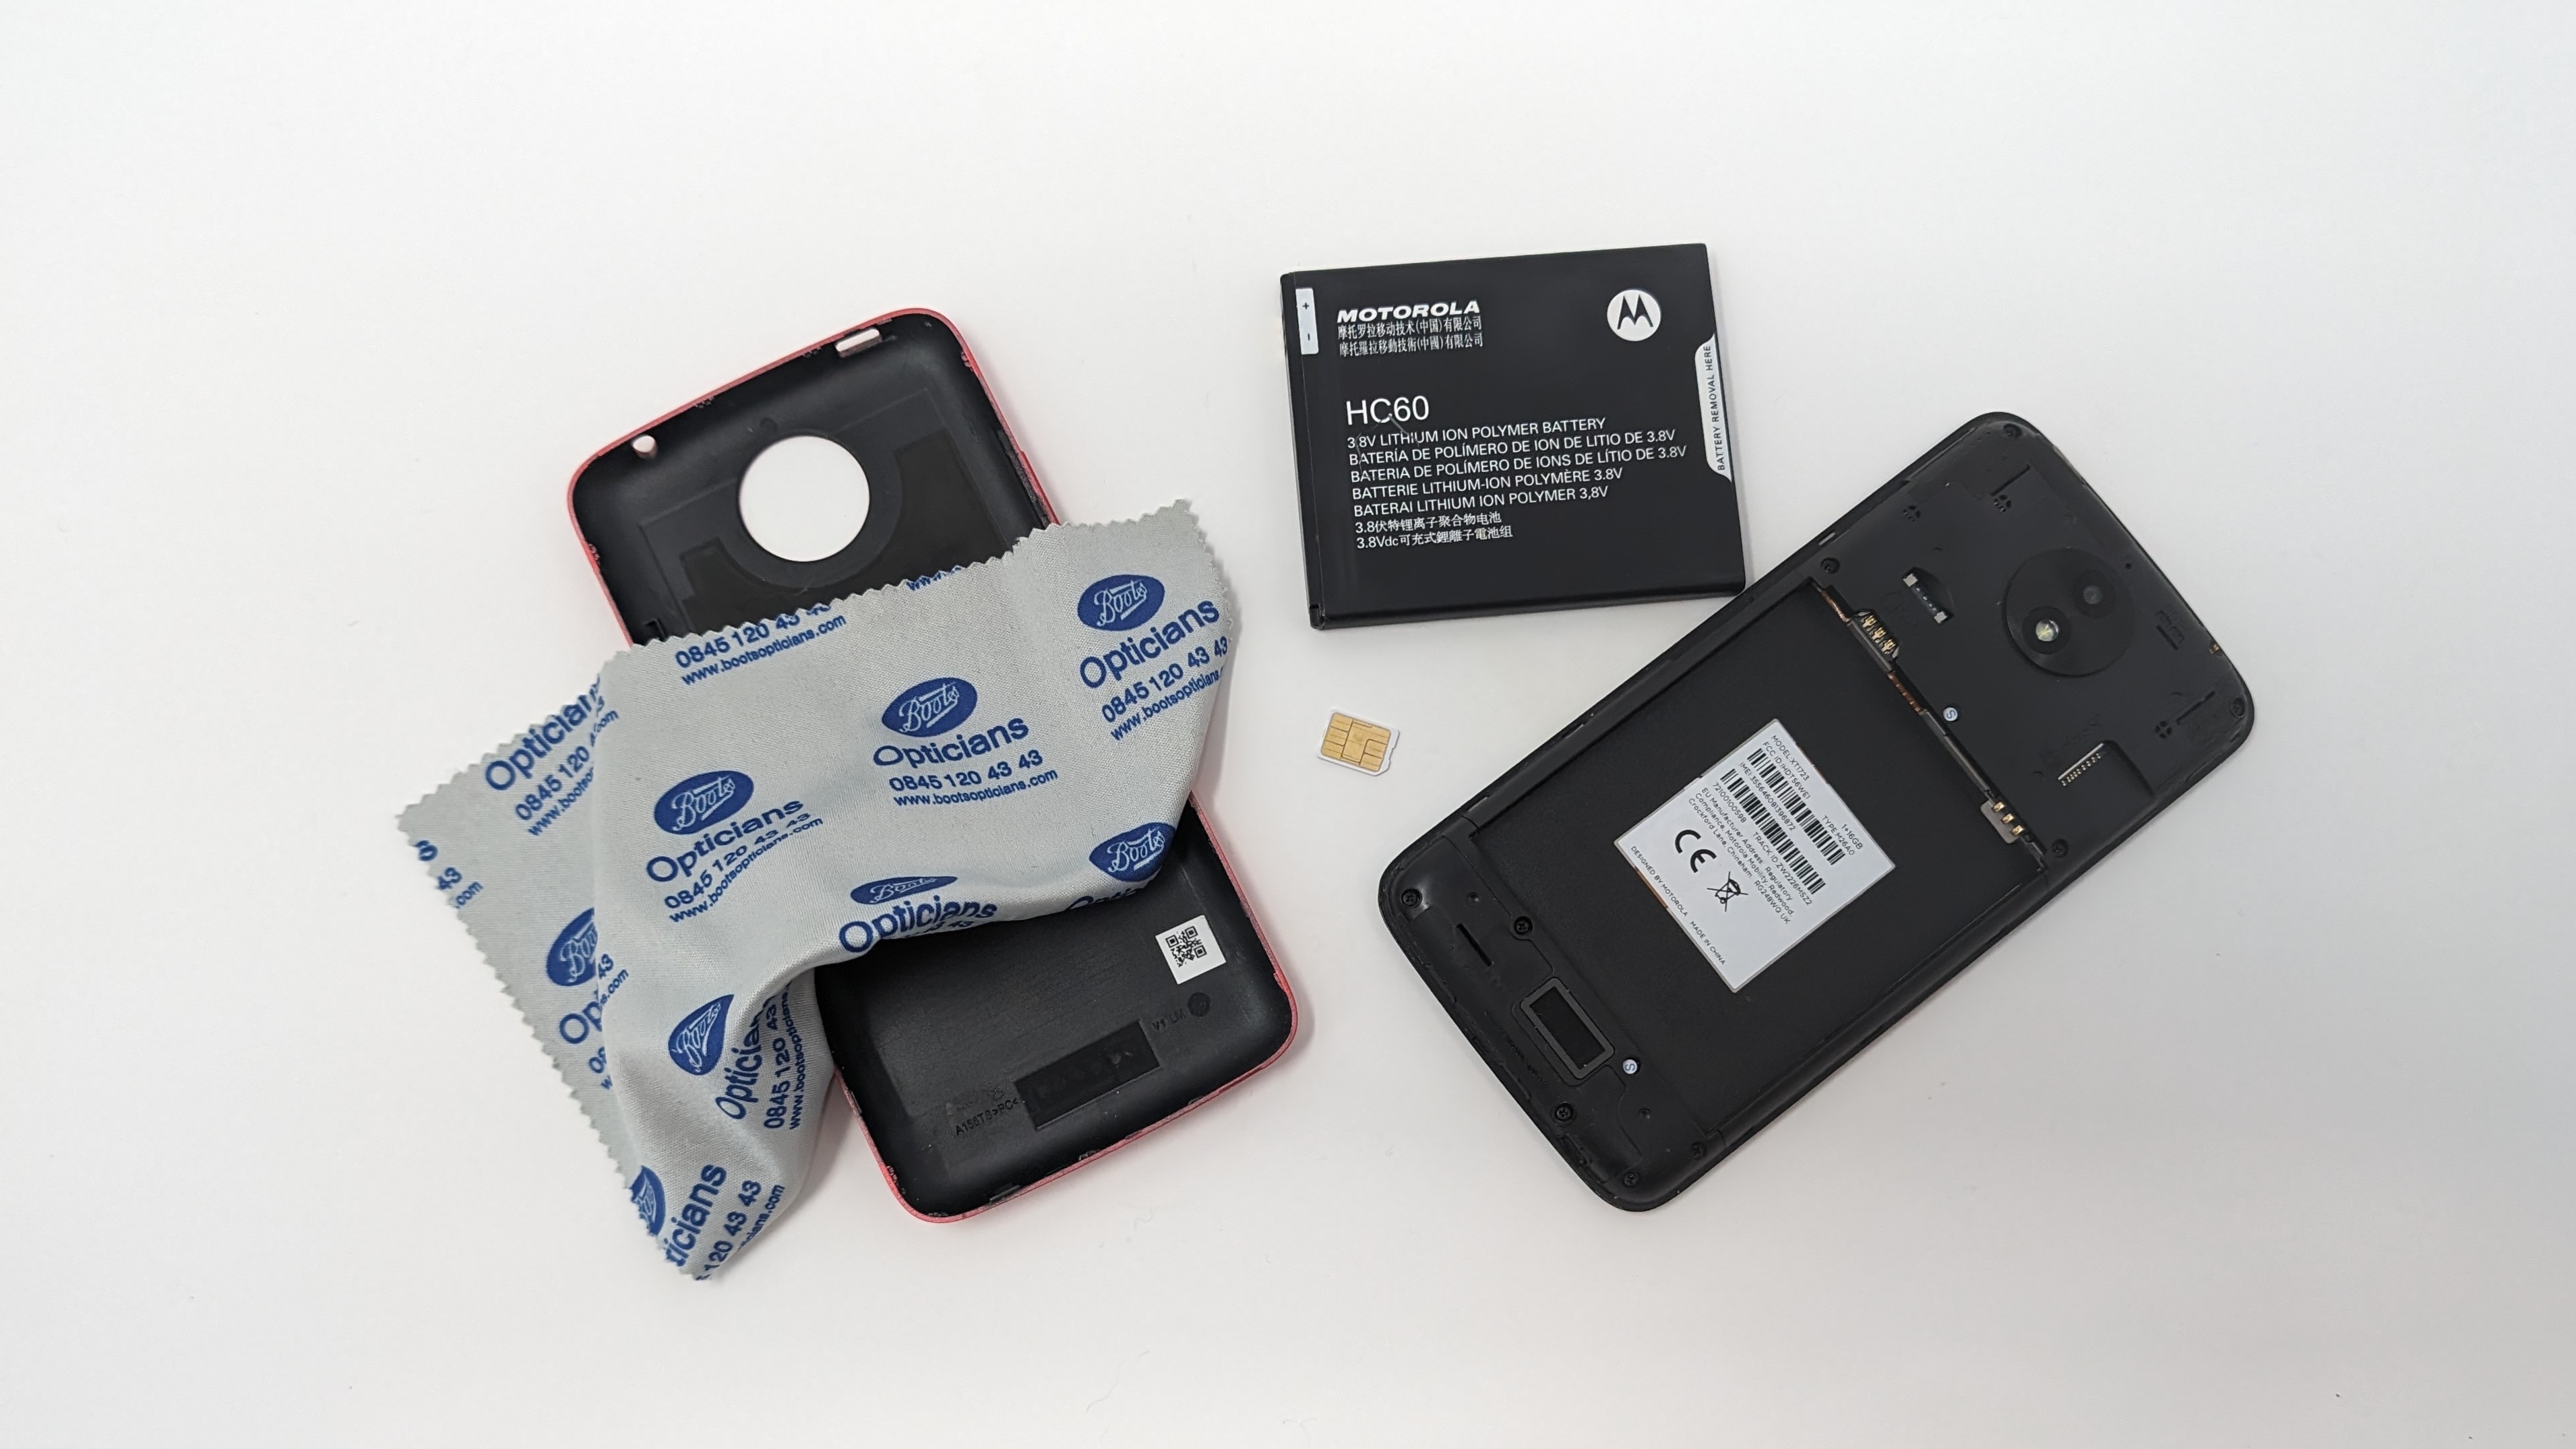
3. Wipe it down
(Image: © Future)
Using a clean, dry, lint-free cloth, gently wipe your phone to remove as much water as possible. Be thorough but gentle, especially around ports, buttons, and any openings. Avoid shaking or moving the phone excessively to prevent water from moving further into the device.
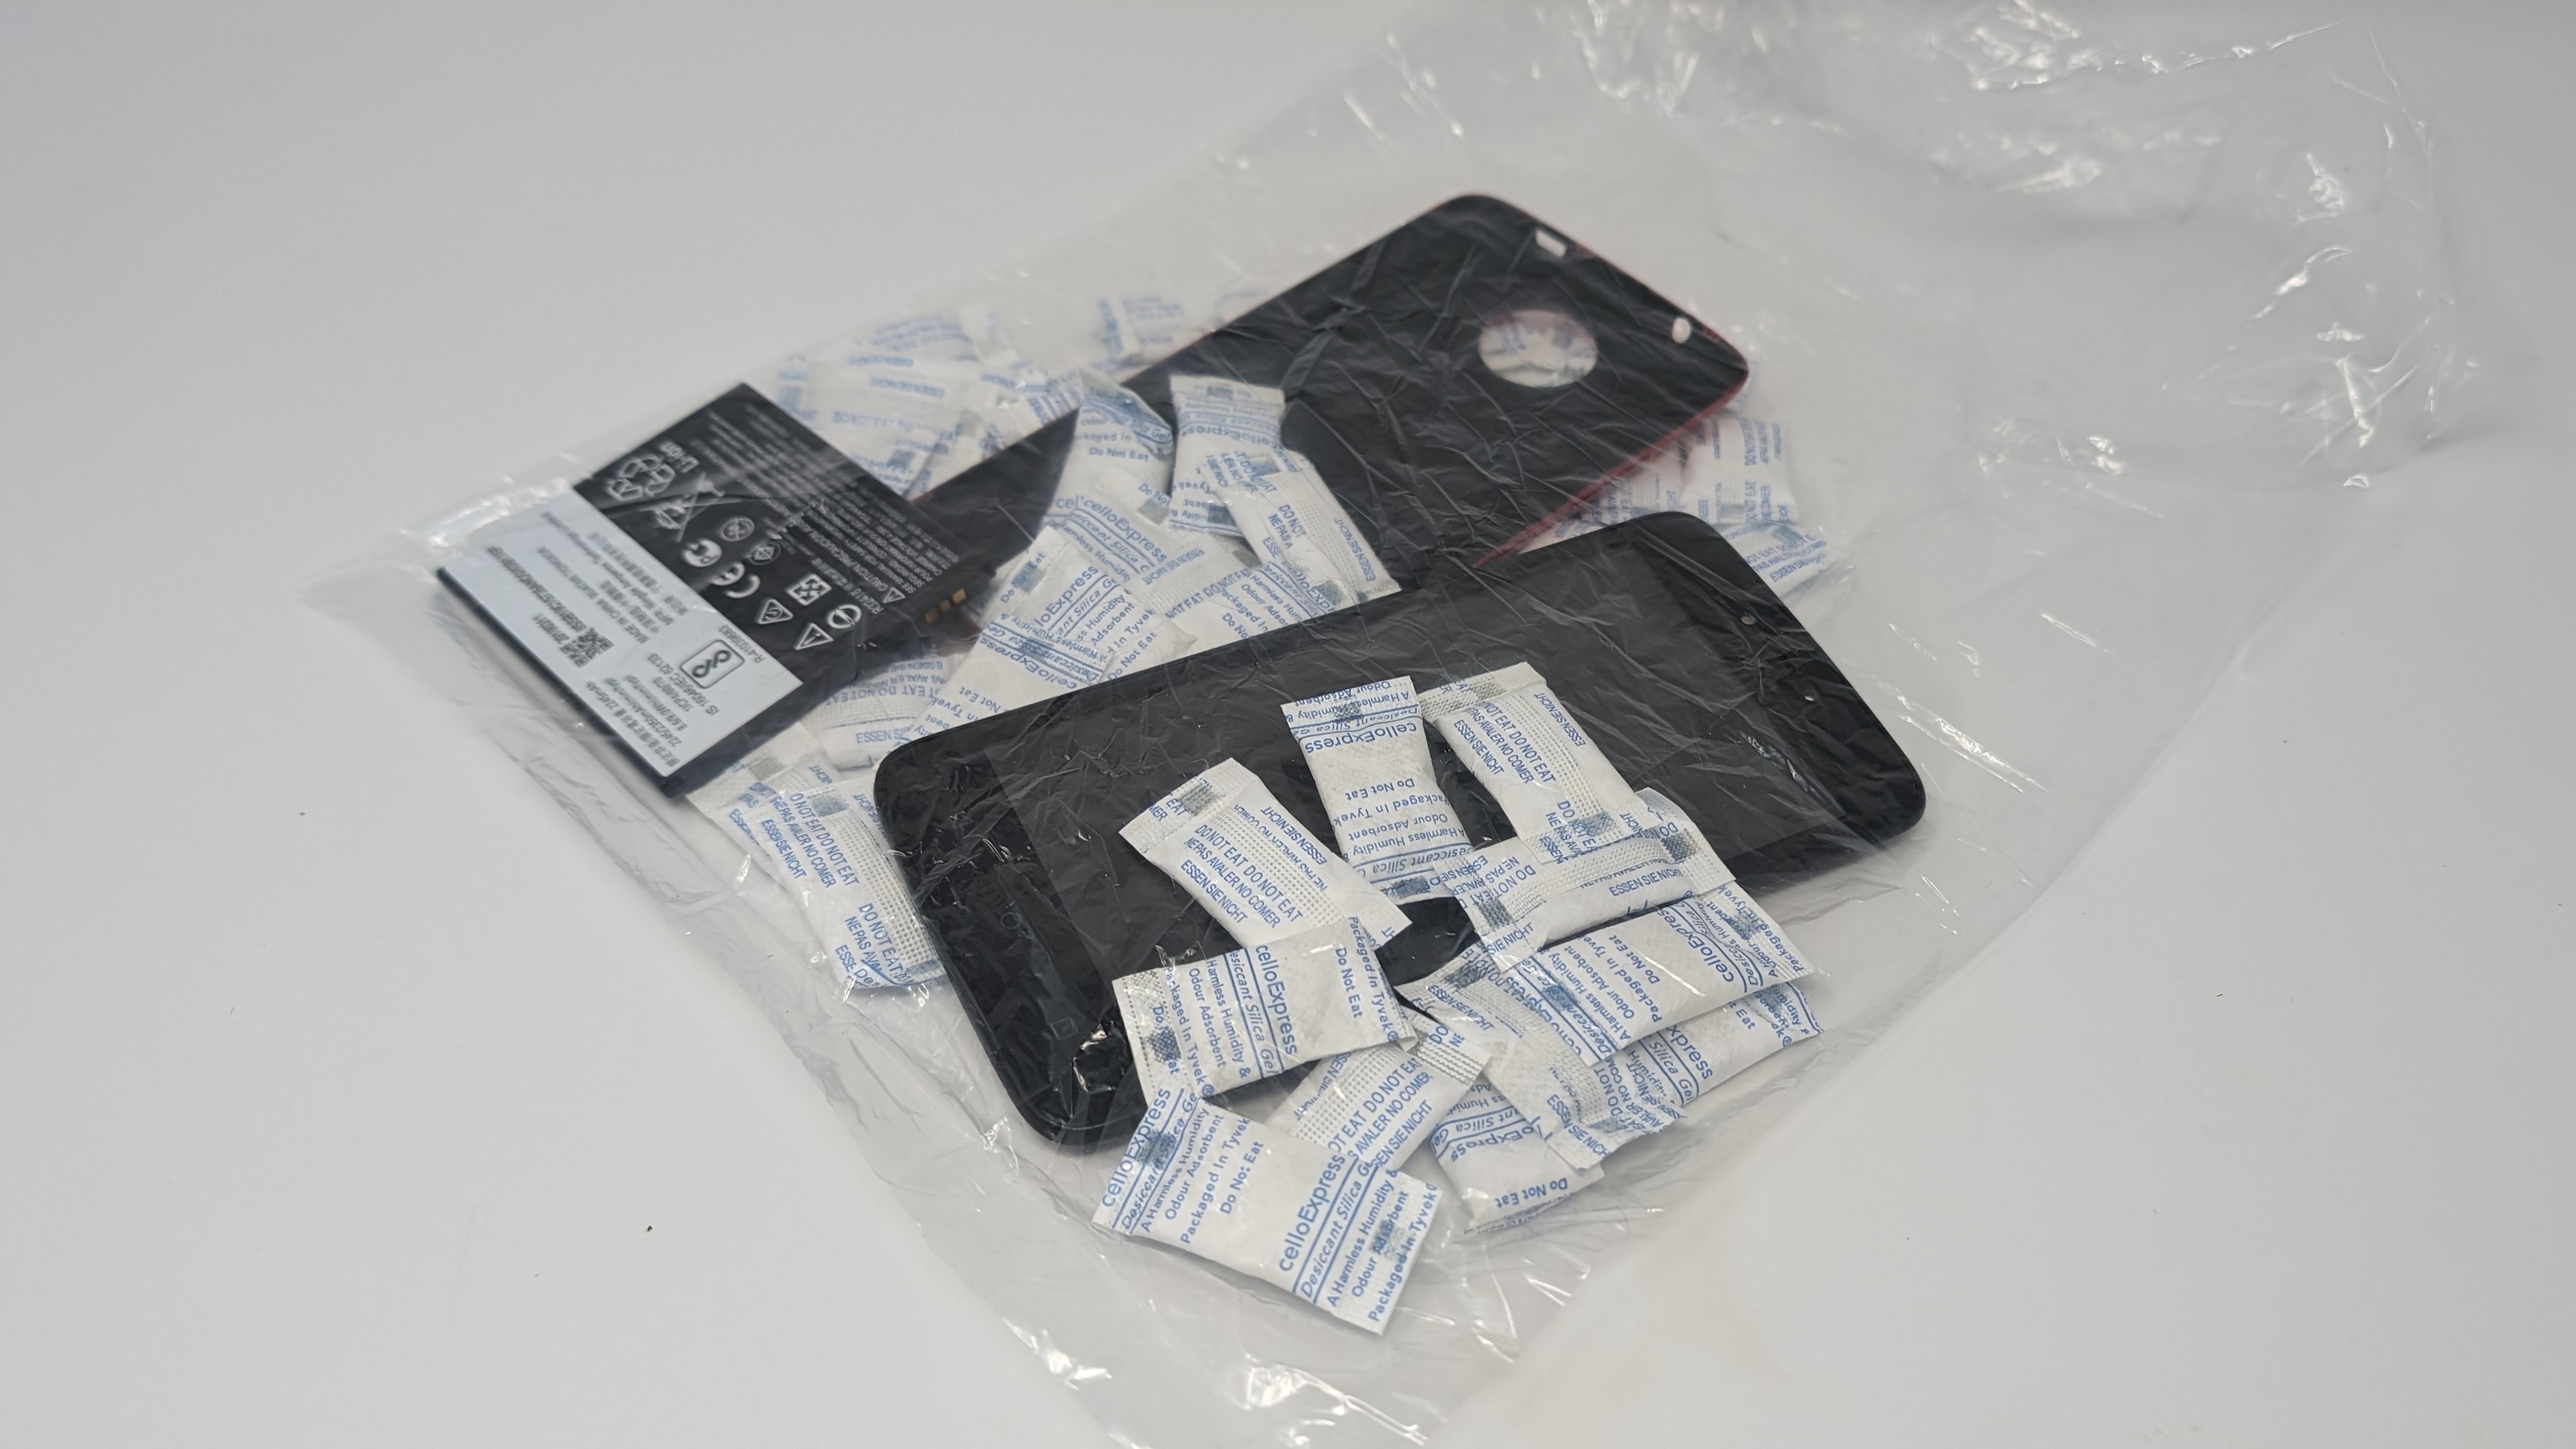
4. Use a desiccant
(Image: © Future)
While the widely recommended rice method has its fans, silica gel packets or a professional-grade desiccant are more effective at absorbing moisture. Place your phone and its removed parts in a container filled with these, ensuring they are well-covered.
Leave it for at least 24-48 hours. The longer, the better; this gives your phone ample time to dry out completely.
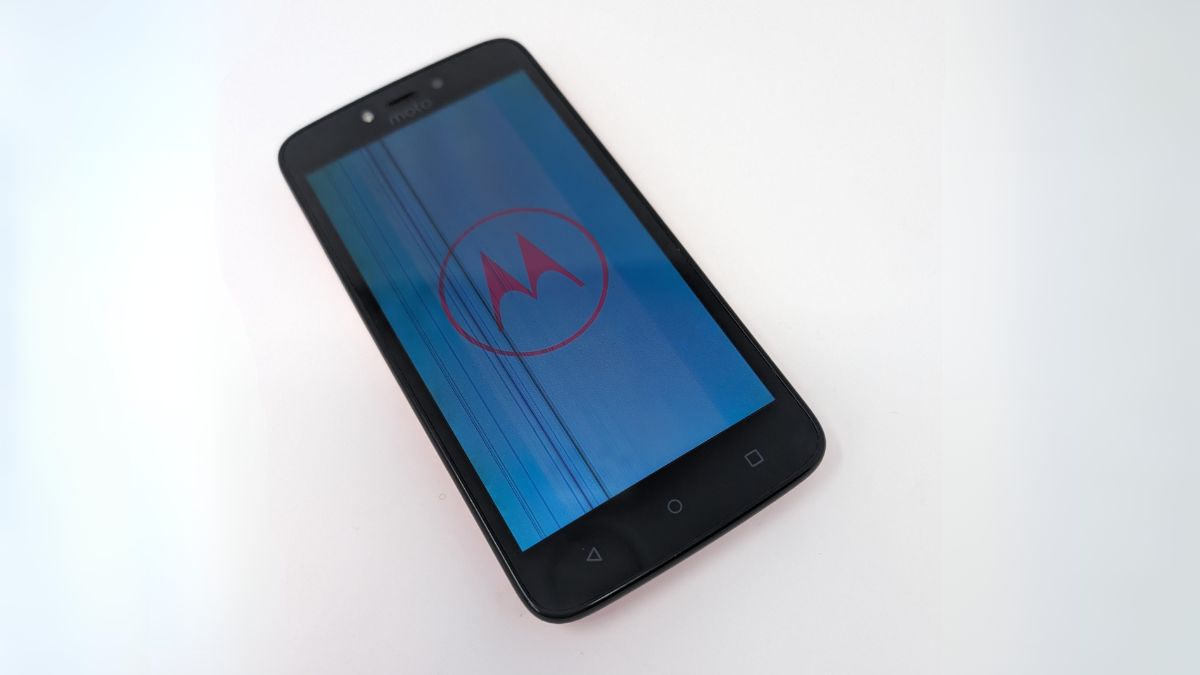
5. Test your phone
(Image: © Future)
After you’ve given your phone enough time to dry, remove it from the desiccant, reinsert the SIM card, and power it on. Observe its functionality carefully. Check the screen, sound quality (speakers and microphone), and how well it charges.
If your phone turns back on, immediately back up your data if you haven’t already done so. Water damage can be unpredictable, and your phone might fail again after initially turning on.
Final thoughts
Experiencing water damage with your phone can be stressful, but it can often be sorted with quick action and a little patience. Remember, the success of reviving your phone depends on how swiftly you act and the extent of the water exposure.
If your phone isn’t responding well after following these steps, it may be time to consult a professional repair service. They can offer a more thorough examination and possibly repair any damage your initial efforts couldn’t resolve.
You might also like
Source: www.techradar.com

